How to Install a Curb Cut for Your Driveway: Permits, Process, and Compliance
Everything you need to know about installing a curb cut for your driveway, from securing the mandatory municipal permit to the final concrete pour.
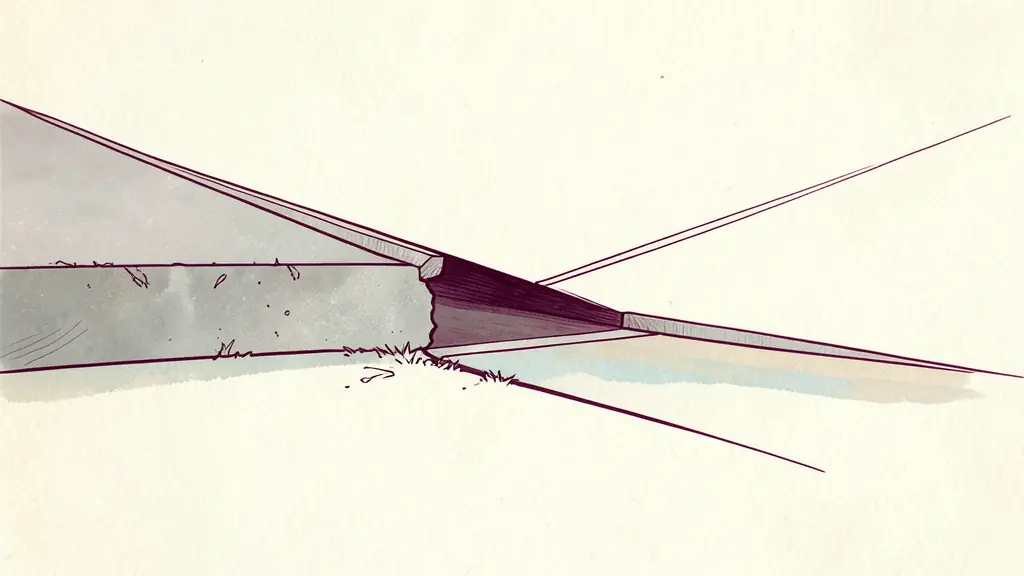
Installing a curb cut for your driveway almost always requires a formal municipal permit. While the curb cut refers to the actual opening in the concrete barrier, the apron is the sloped surface connecting the street to your property. In nearly every US jurisdiction, the property owner is responsible for all associated costs and regulatory compliance.
No time to read?
- Permits are almost always required for any modification to the city curb.
- The curb cut is the opening; the apron is the sloped transition area.
- Property owners are generally responsible for all labor and material costs.
- Proper grading is mandatory to prevent stormwater drainage violations.
Curb Cut vs. Driveway Apron: Knowing the Difference
To navigate the permit process, you must first distinguish between two distinct components of your entrance. A curb cut for driveway access is specifically the removal or modification of the vertical concrete curb that separates the roadway from the property. It is the « gap » created to allow a vehicle to cross from the public street onto private land.
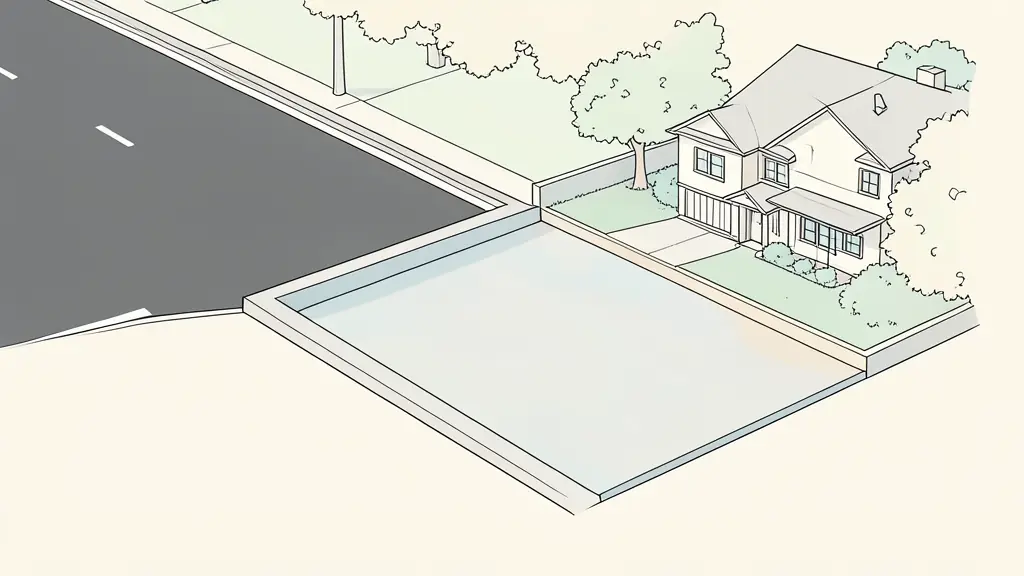
The driveway apron, conversely, is the reinforced concrete slab that fills that gap. This sloped section serves as the transition zone between the asphalt of the city street and the interior of your driveway. Because the apron sits within the public right-of-way, its construction is strictly regulated to ensure it does not interfere with street drainage or pedestrian safety.
The distinction is critical because a driveway apron installation often requires specific material grades and thickness that differ from the rest of your residential driveway.
| Feature | Curb Cut | Driveway Apron |
|---|---|---|
| Definition | The opening/break in the curb | The sloped concrete transition slab |
| Primary Function | Vehicle access point | Load-bearing transition surface |
| Location | Boundary of the roadway | Public right-of-way |
| Key Concern | Traffic flow and safety | Drainage and structural durability |
The Legal Necessity of a Curb Cut Permit
You cannot legally modify a city curb without a permit application approved by the public works department. This requirement exists because the curb is not merely a boundary, but a piece of critical urban infrastructure. Municipalities use these permits to ensure that new entrances do not create blind spots for traffic, obstruct fire hydrants, or disrupt the engineered flow of stormwater.
Operating without a permit is a high-risk gamble. If a city inspector discovers an unauthorized cut, the penalties are severe. You may face heavy fines, but more importantly, the city can mandate the immediate restoration of the curb to its original specifications. This means paying for the demolition of your new work and the installation of a new curb, effectively paying for the project twice.
Understanding the curb cut permit cost is the first step in budgeting, as fees vary based on the size of the opening and the specific city ordinance in place. To streamline this process, you can follow a detailed permit-to-inspection roadmap to ensure no administrative steps are missed.
Who Pays and Who Performs the Labor?
A common misconception is that the city handles the labor because they own the curb. In reality, the city provides the permission, but the homeowner provides the funding. You are responsible for the permit fees, the cost of materials, and the labor for both the demolition and the reconstruction.
Compliance with municipal zoning laws often dictates who can actually perform the work. Many cities require that the installation be handled by a licensed and bonded contractor. Some jurisdictions go a step further, providing a list of city-approved contractors who are already familiar with the local technical specifications for the right-of-way. Using an unapproved contractor can lead to a failed final inspection, forcing you to redo the work.
The Technical Installation Process
The installation of a curb cut is a precise engineering task. It is not a simple matter of breaking concrete; it requires careful grading to ensure water continues to flow toward city storm drains rather than pooling on your property or in the street.
The process typically follows these stages:
- Site Marking: Using the approved permit plans, the contractor marks the exact width and location of the cut to ensure it meets zoning offsets.
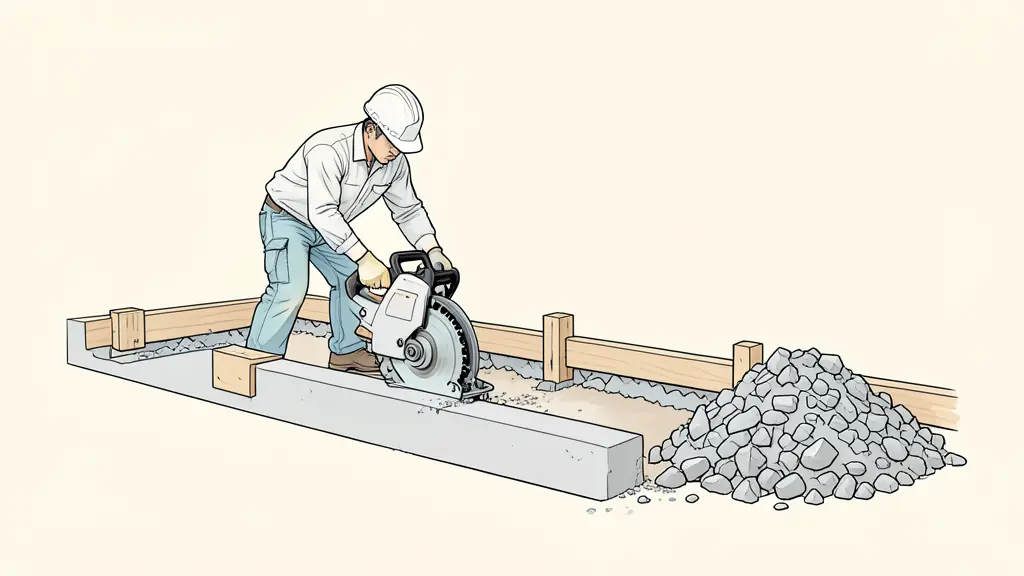
- Demolition: The existing concrete curb is removed using jackhammers or saw-cutting equipment to create a clean, vertical edge.
- Sub-base Preparation: The area is excavated and filled with compacted crushed stone or gravel. Proper grading is applied here to establish the foundation for drainage.
- Forming and Pouring: Wooden forms are set to create the specific slope and « flare » required by the city. The concrete driveway slope is then poured and finished to create a smooth transition.
For a deeper dive into the technical requirements of the foundation, review these site preparation methods to avoid structural cracking.
Critical Material and Drainage Standards
Durability in the right-of-way is non-negotiable. Because the apron bears the full weight of vehicles transitioning from a high-speed road, the city typically requires a higher grade of concrete than what is used for a standard backyard patio. This often includes a minimum thickness (usually 4 to 6 inches) and the integration of reinforcement, such as rebar or welded wire mesh, to prevent longitudinal cracking.
Drainage is the most scrutinized aspect of the installation. The « flare » (the widening of the apron as it meets the street) must be engineered so that stormwater is directed away from the property. If the slope is too steep, it can cause erosion; if it is too flat, water will pool, creating a hazard for drivers and pedestrians.
Avoid These Costly Compliance Traps
Even with a permit, a project can fail during the final inspection if the execution deviates from the approved plan. The most common « traps » that lead to forced demolition include:
- Incorrect Width: Extending the curb cut beyond the permitted footage, which violates city code regarding the amount of curb available for drainage.
- Obstruction of Utilities: Placing the entrance too close to fire hydrants, utility poles, or storm drain inlets.
- Poor Transition Angles: Failing to maintain the required angle between the road and the apron, which can create a « lip » that scrapes the undercarriage of vehicles.
- Improper Restoration: Failing to patch the asphalt where the apron meets the street, leaving a gap that the city will require you to fill.
Before the final concrete pour, you must contact your local city inspector to confirm the exact slope requirements and restoration standards. This final verification ensures that your project is compliant and prevents the city from ordering a tear-out after the concrete has cured.
Envie d'aller plus loin ?
Laisse ton email, on te prévient dès qu'un nouvel article sort.